Introduction: Your Canvas, Your Masterpiece
Welcome to the Pinkland Beauty Blog! Achieving a flawless makeup look isn’t about covering up; it’s about enhancing your natural beauty. Whether you’re heading out for a New Zealand summer beach day or a sophisticated evening event, these step-by-step techniques will ensure your makeup stays impeccable, long-lasting, and radiant.
1. The Foundation of Flawlessness: Skin Prep & Base
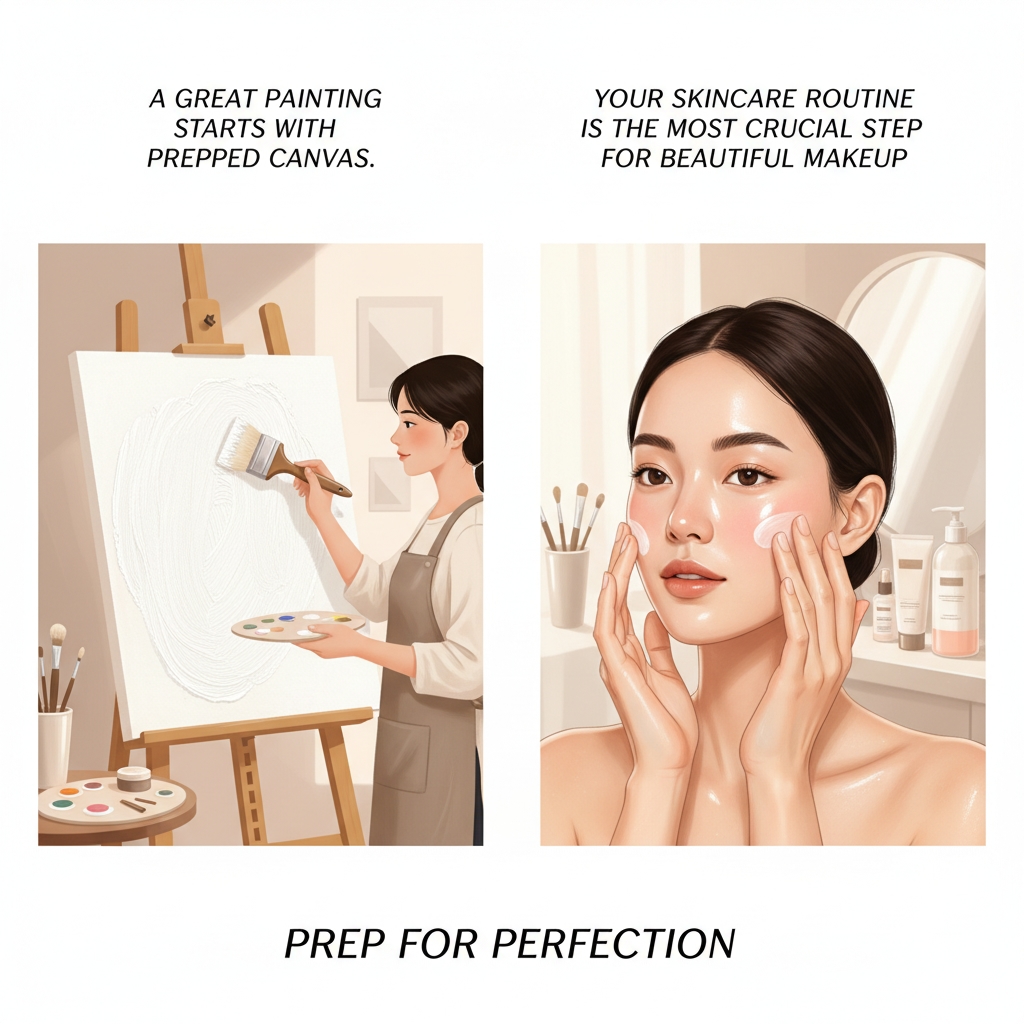
A great painting starts with a prepped canvas. Your skincare routine is the most crucial step for beautiful makeup.
| Efficacy/Usage | Precautions/Tips |
| Cleanse & Moisturise: Makeup adheres best to well-hydrated skin. Use a lightweight, fast-absorbing moisturiser suitable for your skin type (e.g., gel for oily skin, cream for dry skin). | Wait: Give your moisturiser and sunscreen at least 5-10 minutes to fully absorb before applying primer or foundation. Rushing this step can cause pilling. |
| Primer Power: A good primer blurs pores, controls oil, or adds luminosity. Match your primer to your foundation formula (e.g., silicone-based primer with a silicone-based foundation). | Less is More: Use primer only in areas where you need it most (e.g., T-zone for oil control, cheeks for blurring). Over-applying can make your makeup look heavy. |
| Foundation Application: For the most natural finish, apply foundation with a damp beauty sponge or a densely packed brush, starting from the centre of your face and blending outwards. | Match: Always check your shade match in natural light (e.g., by a window). The colour should disappear into your neck/jawline. |
2. Eyes That Pop: Definition and Depth
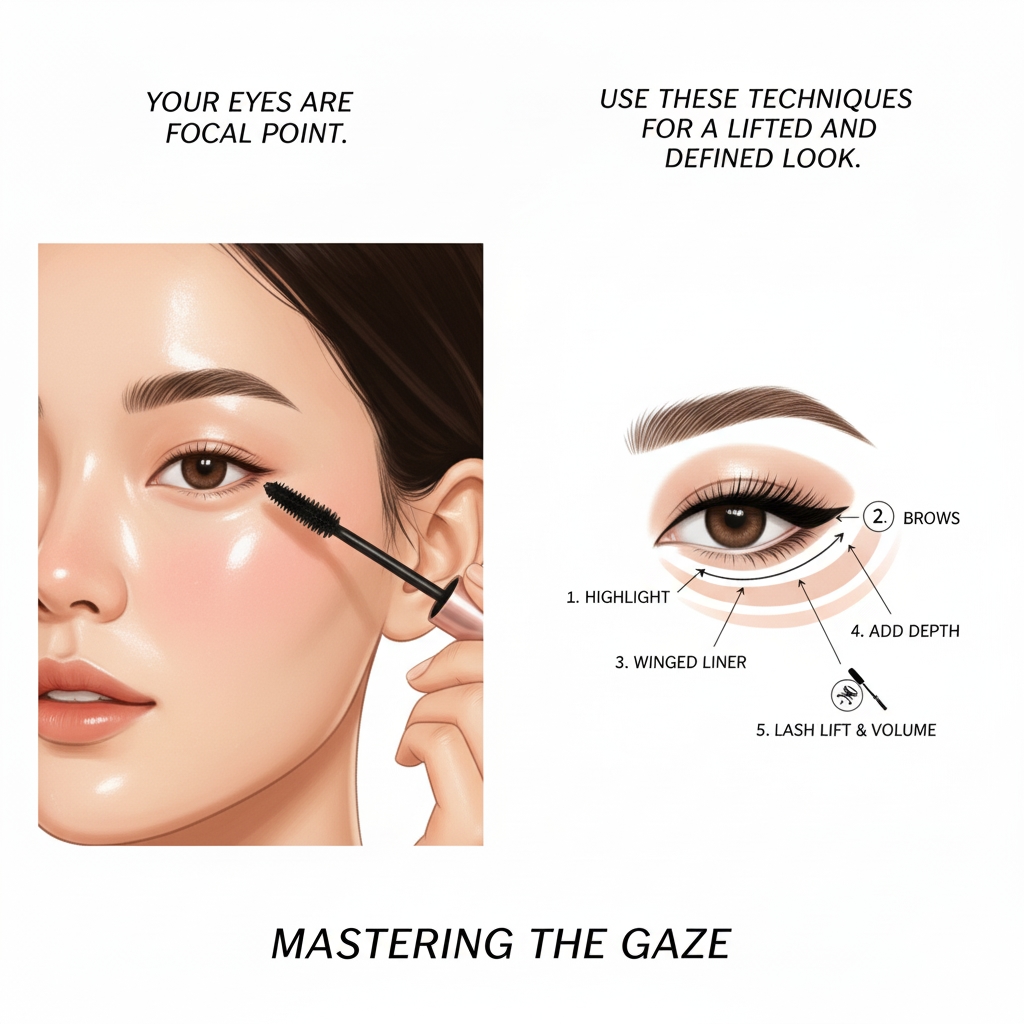
Your eyes are the focal point. Use these techniques for a lifted and defined look.
| Efficacy/Usage | Precautions/Tips |
| The Brow Frame: Fill in sparse areas using small, hair-like strokes. Use a spoolie brush to distribute the product evenly for a softer, more natural look. | Avoid the Block: Don’t draw a harsh line at the start of your brow. Keep the inner third of your brow lighter and softer than the tail. |
| Eyeshadow Blending: Always use a fluffy blending brush to soften the edges between colours. Build colour slowly, layer by layer, rather than applying a lot at once. | Eye Primer: Use a dedicated eyeshadow primer! This prevents creasing, makes colours more vibrant, and extends wear time—a must-have for all-day looks. |
| Lifting Liner: When applying liquid or gel eyeliner, draw the wing first by following the upward angle of your lower lash line. This creates a visually lifted effect. | Lash Curling: Curl your lashes before applying mascara. Never curl lashes after mascara, as this can break your lashes and damage the curler. |
3. Sculpt, Flush, and Glow: Adding Dimension

Adding dimension prevents your base from looking flat.
| Efficacy/Usage | Precautions/Tips |
| Contour Placement: Contour should mimic natural shadows. Apply a cool-toned shade just beneath your cheekbones, along the jawline, and the temples. Usage: Blend upwards for cheeks and downwards for the jaw. | Shade Choice: Choose a contour shade that is no more than two to three shades deeper than your natural skin tone. Avoid using bronzer (which is warmer) for contouring. |
| Blush: Apply blush to the apples of your cheeks and blend slightly upwards towards the temples for a youthful, lifted look. Cream or liquid blushes are excellent for a dewy finish. | The Smile Test: Don’t just apply blush when smiling. When your face is at rest, ensure the blush is blended properly to avoid two “dots” of colour when you relax your expression. |
| Highlighter: Apply to the highest points of your face—the tops of your cheekbones, bridge of the nose, and cupid’s bow. Efficacy: It catches the light and creates a healthy, luminous glow. | Texture: If you have textured skin or large pores, use a subtle, finely milled powder highlighter or a liquid one. Avoid chunky glitter, which can accentuate texture. |
4. The Finishing Touch: Setting and Lasting Power

The final steps lock your hard work in place.
| Efficacy/Usage | Precautions/Tips |
| Setting Powder: Use a translucent, finely milled powder and press (don’t rub) it into areas that tend to crease or get oily (under the eyes, T-zone). | Baking: While ‘baking’ works for some, for most, a light dusting is sufficient. Too much powder can make you look dry or cakey in daylight. |
| Setting Spray: A good setting spray melts all the layers of makeup together, removing the powdery finish and locking the look in place for hours. Usage: Spray in ‘X’ and ‘T’ patterns over your face. | Keep Distance: Hold the spray about 30cm away from your face. Spraying too close can cause large droplets that ruin the finish. |
5. Community Consensus & Pro Tips (The Reviews)
The best advice from thousands of beauty enthusiasts across the web:
- “Blend, Blend, Blend”: The single most common tip from all beauty communities is the importance of blending. No matter the product, ensure there are no harsh lines. This is the difference between a beginner and a professional look.
- “Tool Investment Pays Off”: Investing in quality brushes and sponges is better than buying countless low-quality products. Clean tools are essential for a smooth, hygienic application.
- “Hygiene is Key”: PRECAUTION: Always wash your hands before starting your makeup and clean your brushes/sponges weekly to prevent bacteria buildup, which can cause breakouts.
- “Check in Different Lights”: Step away from your primary vanity mirror and check your makeup in different lighting conditions (e.g., hallway light, natural light from a window) before leaving the house.
Happy flawless makeup application, Pinkland customers!